
A little guidance. A lot of possibility.
Make something
worth keeping.
Thoughtfully chosen materials, useful tools, and practical guidance for the projects you’ve been meaning to make.

with the right match.Find your transfer method
The project desk
What will
you make next?
Choose your project, transfer method, and the supplies you need.
Unsure about the method? →Stock your creative space
Small details. Better makes.
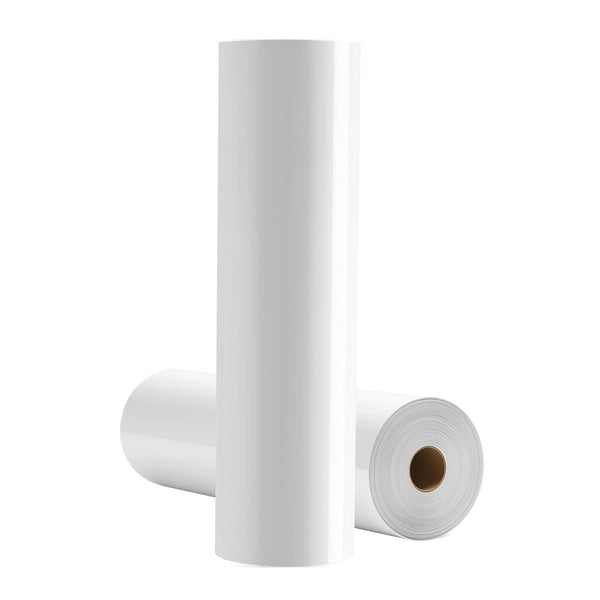
Heat transfer vinyl
Cut lettering & shapes for fabric.
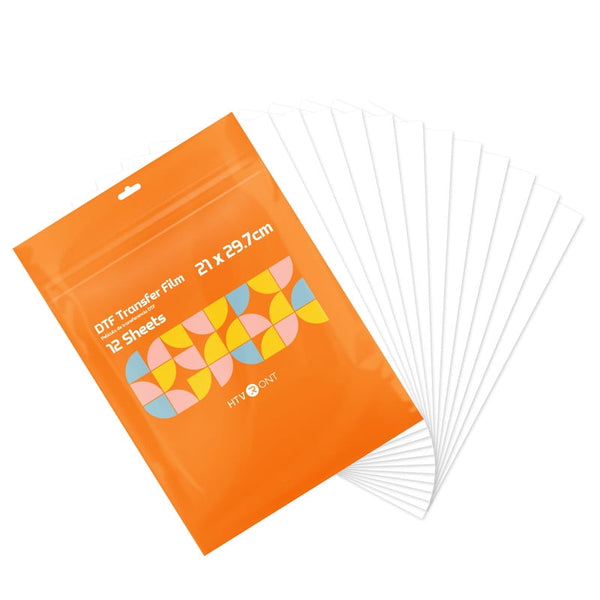
Transfer paper
Print full-color designs for fabric.
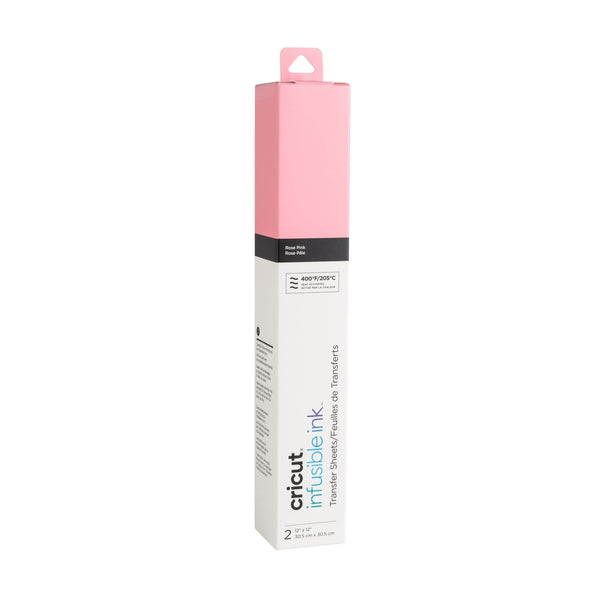
Sublimation supplies
Find the ink, paper & compatible blank.
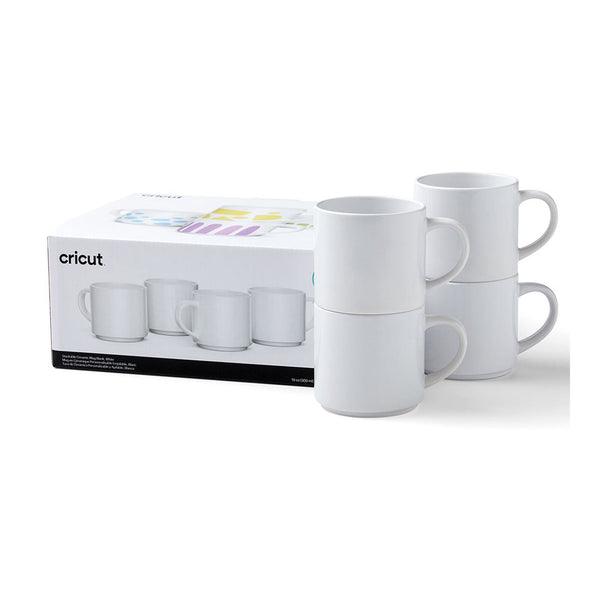
Project blanks
Begin with a shirt, bag, mug, or coaster.
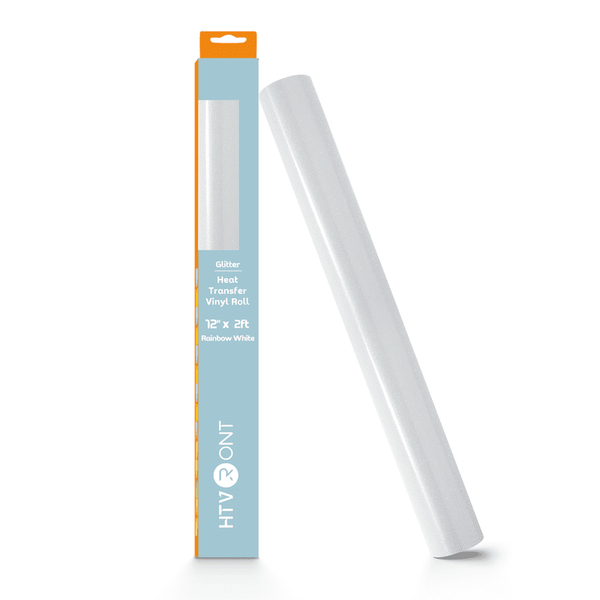
Adhesive vinyl & transfer tape
Make decals for suitable hard surfaces.
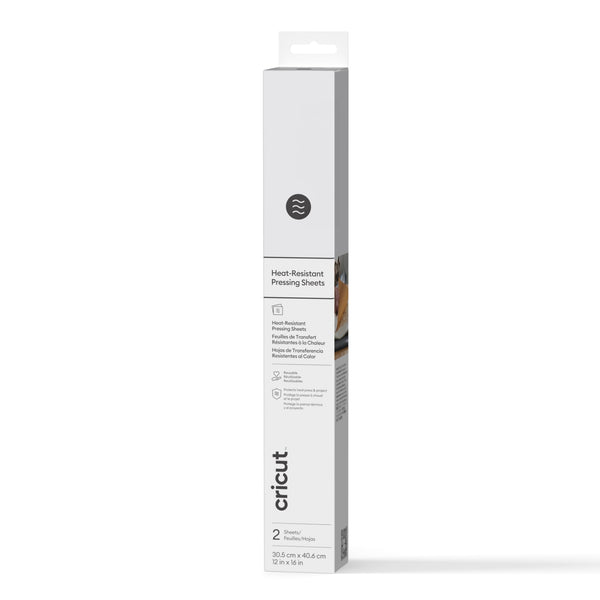
Craft tools
Cut, weed, position & support your work.
The guide comes with the supplies
A beautiful idea
deserves a good plan.
Start with the blank you want to decorate. Choose a transfer process that suits it. Then measure your design before buying materials.
Open the project planner ↗Know your usable area.
Make room for the details.
From the guidebook
A little know-how goes a long way.
01 / Choose your process
One idea.
Four ways to make it.
Compare iron-on, printable transfers, sublimation, and adhesive vinyl by the project they actually fit.
Choose a transfer method ↗02 / Measure before you buy
A small batch.
A considered plan.
Work out usable area, material quantity, and the cost of a practice piece before a group project.
Plan your materials ↗03 / Learn from the first press
A better next try
starts with a check.
Use lifting, marks, and blurred transfers as clues. Record your setup and change one thing at a time.
Troubleshoot your transfer ↗For the next idea on your list
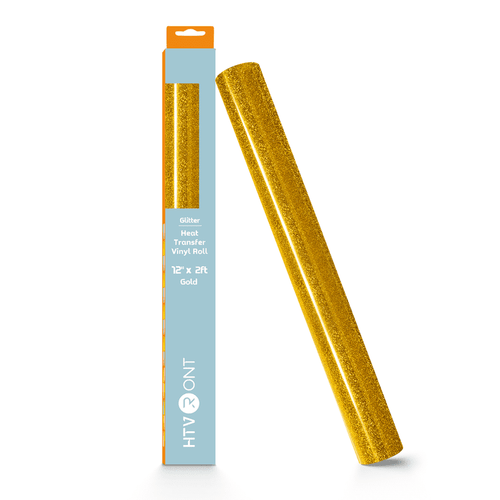
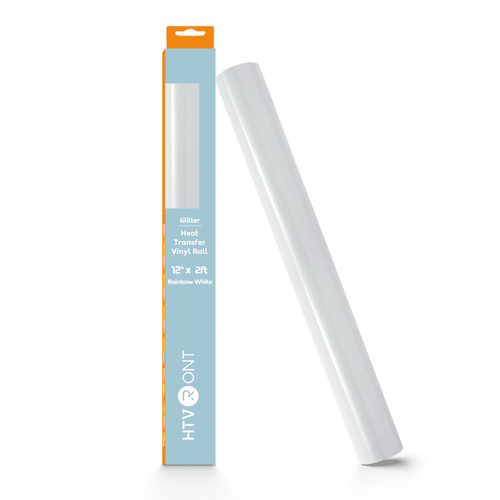
Start with a little color.
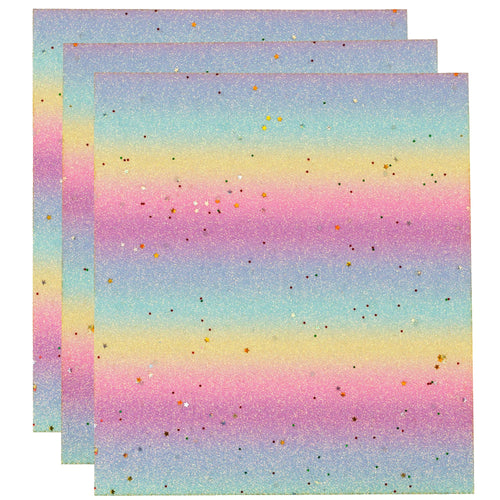
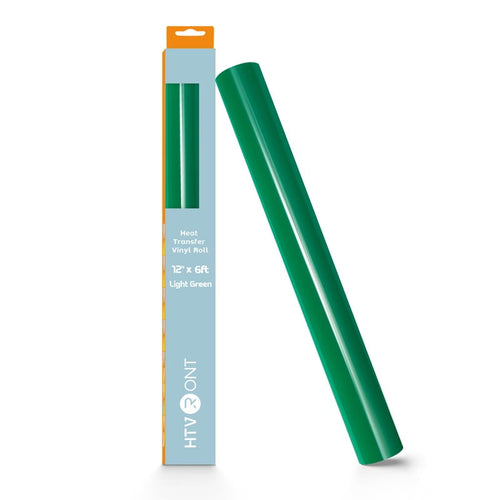
A shop with a useful point of view
Fewer guesses.
More finished projects.
We organize supplies around the choices that matter: the transfer process, the blank, the format, and the equipment you already have. Product notes explain tradeoffs and link to source information.
Our guides are research-based. We distinguish documented requirements from things that still need confirmation, so you can make an informed choice.
How we select & check products ↗The Press Check: a better project starts here
There is a satisfying moment when the idea in your head becomes something useful in your hands. The work before that moment is less glamorous: choosing a material, checking a blank, measuring a name, and making sure the equipment can complete the route. Heat Press Guide is organized around those decisions. Browse the supplies when the brief is clear, or use the guides and project desk when one part still needs an answer.
Match: start with the thing you are making
A shirt, mug, tote, card, and storage label can carry the same artwork while needing completely different processes. Begin with the receiving material and the intended use. For fabric, read the actual composition and color. For drinkware, identify the documented coating and supported template. For a decal, check the surface and the intended life of the label. A familiar brand or white appearance is not a complete compatibility check.
Then choose how the image will be prepared. Cut-color iron-on can suit lettering and distinct shapes. Printable fabric transfers create another route for multicolor images using the specified printer and stock. Sublimation supplies belong to matched ink, paper, equipment, and receiving-blank systems. Adhesive vinyl and application tape serve suitable hard-surface decal projects. Keep each route's instructions together.
Measure: buy useful quantity
A large pack is useful only when its contents match the project. A sampler's total area does not tell you how much of one color it contains. A specialty kit's physical piece count can include separate components that form one complete transfer. A garment multipack in one size may not cover a mixed-size recipient list. Compare the useful formats before comparing the biggest number printed on the package.
Use the project planner to compare rectangular layouts, include margins and gaps, and round the requirement into whole packs. Start with the longest name or largest design rather than the easiest example. Count trial attempts separately from the intended finished pieces. The calculation is a working estimate with visible assumptions, so you can change one value and understand why another sheet or pack becomes necessary.
Make: one representative sample first
Choose a trial that includes the difficult feature of the actual design. An enclosed letter, a narrow stroke, or a pattern-sensitive initial can reveal more than a plain rectangle. Follow the exact material, blank, and equipment instructions for the route. Keep the result with a dated final-size file and a short record of the identities used. That reference makes a later replacement or addition easier to assess.
A sample is also a design check. Read the name from normal distance, review the position relative to a neckline or handle, and confirm that the recipient and size are correct. A process can be applied as directed while the artwork still feels too large or too small. A paper proof is a useful low-cost step before a material sample, especially where the only question is placement or spelling.
Find the department that solves the next step
The materials departments separate iron-on, printable stock, adhesive vinyl, and ink-transfer supplies by their jobs. The blanks departments compare clothing, bags, mugs, coasters, and other receiving objects. The tools departments distinguish cutting support, writing, weeding, positioning, and pressing. A complete project list follows the work in sequence rather than collecting a tool from every category.
Each collection includes a field guide below the products. It explains the important differences, links to concrete item comparisons, and gives an illustrative quantity calculation. Product pages carry more detailed specifications, source notes, and an item-specific Press Check. If a supplier's fields conflict, the uncertainty stays visible. We do not turn an unresolved package count or model claim into a confident promise.
Keep the know-how with the supplies
The guidebook has longer explanations for choosing a route, planning a small batch, and organizing troubleshooting. Use it when you want the reasoning behind a decision. The research method explains how exact supplier records, manufacturer references, and project examples are distinguished. Our store's notes are documented research and original planning guidance, rather than claims of physical testing of every item.
For a specific unresolved question, send the product link, receiving label, machine model, and intended dimensions through the contact page. Those details turn “Will this work?” into a question that can be investigated. When the brief is ready, return to the collection and choose supplies for that exact route. A little guidance at the beginning leaves more attention for the part you wanted to do: making something worth keeping.